Sunday, July 3, 2011

Part 3 - Quilted IPad and Accessories Case

In case you are wondering what is happening with Part 3. Its happening but I have just finished sewing together Part 2 this afternoon. 

I have started to put together Part 3 but I'm playing around with my cutting and measurements for the case. I'm also consulting DH in the process because after all it is for him.

But generally I'm a Mummy first. So my sewing and crafting time comes when there are afternoon naps and bedtimes at night. And like any parent, when the kids are in bed its time to put the feet up and there are days in which I just can't sit behind the machine a few extra hours to get the job done. So there's always tomorrow. 

But tomorrow DH and I are off for an overnight trip away with no kids. That's right no kids. We can't wait as it will be our first solo getaway since our son was born in 2009. So the kids are off to play and stay with Nanny and Poppy and DH and I are going out for dinner and a movie just like old times.

But I'll be back to link into W.I.P Wednesday. I should have some better progress photos of the IPad case then even if it will not be completely finished. Sorry guys for the delay but kids come first.

Summer Sampler Series

Yet again our US bloggers are out doing themselves over their summer break.


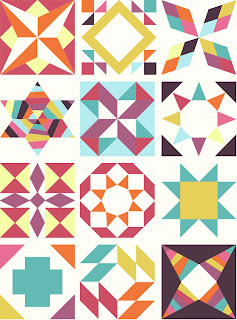
This time Lee at Freshly Pieced has joined two friends, Kate at Swim Bike Quilt and Faith at Fresh Lemons Quilts to make a gorgeous small sampler quilt. I just couldn't resist. A chance to learn a new block, a lesson about the block's history and of course an opportunity to use some new fabric in my stash that is just calling out to me.


So I'm joining this quilt along. As if I didn't have enough to do. So it starts next week and there will be three blocks a week on Monday, Wednesday and Friday. I would like to think that I will keep up but you just never know.

So I've decided to use my fat quarter pack and some Bella solid Snow yardage to make the sampler quilt. I'll be using Punctuation by American Jane.

How appropriate. The name reminds me of being back in school.

Saturday, July 2, 2011

Part 2 - QAYG, Quilting and General Sewing

So the next step is about getting our different pieces ready to put the case together. As I stated in my previous post, we are going to use QAYG method to make the case and pockets. I decided to go this way because all your sewing and quilting is done in one step.

There is going to be some general sewing in this tutorial. So we can start with this step first before we move onto the QAYG. In my design, I have created two compartments that will be used for the camera port and charger cord. (These were requested by DH).

I am using my normal sewing foot to make this part. Select your 4" X 10" fabric pieces and place right sides together. You should have two. Firstly, sew around 3 sides of your pieces of fabric that measure 4" X 10".

Cut the corners,turn in the right way and press with the iron. Put aside because we will be adding them to the case lining. I plan to add these on after I have cut out the template of the IPad case in part 3.

Now for the QAYG part. Its simple, its easy and its two steps in one. Sewing and quilting. I add my walking foot at this stage because it will be easier with the added layers. I also used a heavier needle in my machine to help go through the layers.

Step 1: 
Take your wadding pieces and lining pieces for the pockets and baste however you desire. I like basting spray. This is an adhesive that washes out after the project is completed.  Put them aside.

Next baste the wadding and lining of the flap.
We are then going to add our magnetic button to this part of the process. Measure where you would like your button to be.
The finished flap rectangle will be cut 4" X 8.5". I placed my button 1.5" from the top of my finished measurement for the flap. It is a good idea to mark where the button will be placed as you need to use your quick unpick to cut the fabric so that the button prongs go through the lining and wadding.
I then basted a 1.5" square of wadding over the back of the button. Then baste your top piece of fabric to the wadding. We are then going to quilt the flap but make sure that you don't quilt over the button or you will regret it later.
We are not going to baste our case lining to the wadding as we need to add our smaller pockets to the lining before it is attached. We also need to add the second part of the magnetic button to the outer side of the case. 

Step 2:
QAYG is now ready to begin.  I will start with my case. You can quilt and sew your 2.5" strip any way you like. I'm going to do mine on the diagonal. Make sure the your stitch length on your machine is larger. I have a Janome and set my length at 2.8 for all quilting.

When you have finished covering the wadding with your strips and quilting at the same time, trim the edges so that you have a rectangle again. If you want to add more decorative quilting to your project please do but its not necessary because all the layers will be quilted already.
Next do the same process to your pockets with the 2.5" strips. Once these are complete you should have 3 rectangles, a case, a IPad pocket and a keyboard pocket.

Step 3:
Now its time to quilt your flap if you haven't already done it. Quilt it anyway you like. I'm going to do some straight quilting and cross hatch. This will ensure that I will not quilt over the magnetic button.

Now go and have fun sewing. I'm off to finish off my sewing so that I'm ready for the next part.

Friday, July 1, 2011

Part One - Quilted IPad Case

Are we all ready to begin? 

Well to start lets have a look at what we are going to need to make this item. Because I'm in Australia, we tend to buy pieces of fabric by the metre. So when talking about fabric requirements I will use how much I had in metres and not yardage.

Fabric Requirements:
5 pieces of 1/2 metre fabric (color choices were made by DH)
1.5 metres of homespun or fabric for lining and binding
Cotton Wadding (scraps I've collected from left over quilting)
Pelon or fusible interfacing
1 magnetic button

Please note that people are able to use any scraps from their stash to make this case. If you want to use up your scraps or precut fabrics just adhere to the cutting requirements for the tutorial.

To give you an understanding of what is involved in the piecing of this project, I will be using Quilt As You Go (QAYG). So the cutting requirements will be based on this. All sections of this project are initially cut and pieced as rectangles. I plan to use curves on the case so these will be shaped into the project once the QAYG is completed. The case will use bias binding as well to finish off the project.

Please note that I have made extra pockets to allow for the IPad accessories that my DH has purchased. If you don't want these with your IPad you can just make the outer case minus some pockets. I will outline what each cutting requirement is for.

Cutting Requirements:
20 2.5" strips from my fabric (4 strips of the 5 fabrics). These will be used to make the outside of the case, IPad pocket and Keyboard Pocket.

Case:
16" X 24" piece of wadding
16" X 24 piece of pelon or fusible interfacing
16" x 24" piece of lining. I used black homespun.

IPad Pocket:
16" X 11" piece of wadding
16" X 11" piece of lining
2.5" strip for binding top of pocket

Keyboard Pocket:
16" X 8" piece of wadding
16" X 8" piece of lining
2.5" strip for binding top of pocket

Small pockets (X2):
4 4" x 10" pieces of fabric

Outside Flap:
6" X 10" piece of fabric
6" X 10" piece of wadding
6" X10" piece of lining

Binding:
I have cut 2.5" strips for the case binding on the bias. I used some of the left over fabric from cutting out my lining pieces that had selvage attached. I have to apologise that I didn't take any photos of cutting out the bias binding as my camera was flat. But the basic instructions are for cutting bias strips is the following:

Put your 45 degree angle measurement from your ruler on the selvage of your fabric and cut off a small section. Then using your 2.5" measurement on your ruler cut strips as you would normally but diagonally across the fabric butting up the 2.5" against the edge you just cut. Your binding strips will be straight and the ends will be on the diagonal.

If you are unsure about bias strips. I will post pictures tomorrow of my strips and go through it step by step again with some photos.

Weekend Project - Quilted IPad and Accessories Case

So from a bit of a push from my special friend Simone at Quilting is My Downtime who has just come into possession of an IPad for work, I am finally putting together my tutorial for the Quilted IPad and Accessories Case. I am making it for the added accessories as my DH has purchased himself a keyboard and camera connection to replace his laptop. His IPad is his prized possession and is now used for just about everything including my own personal addiction Words with Friends.

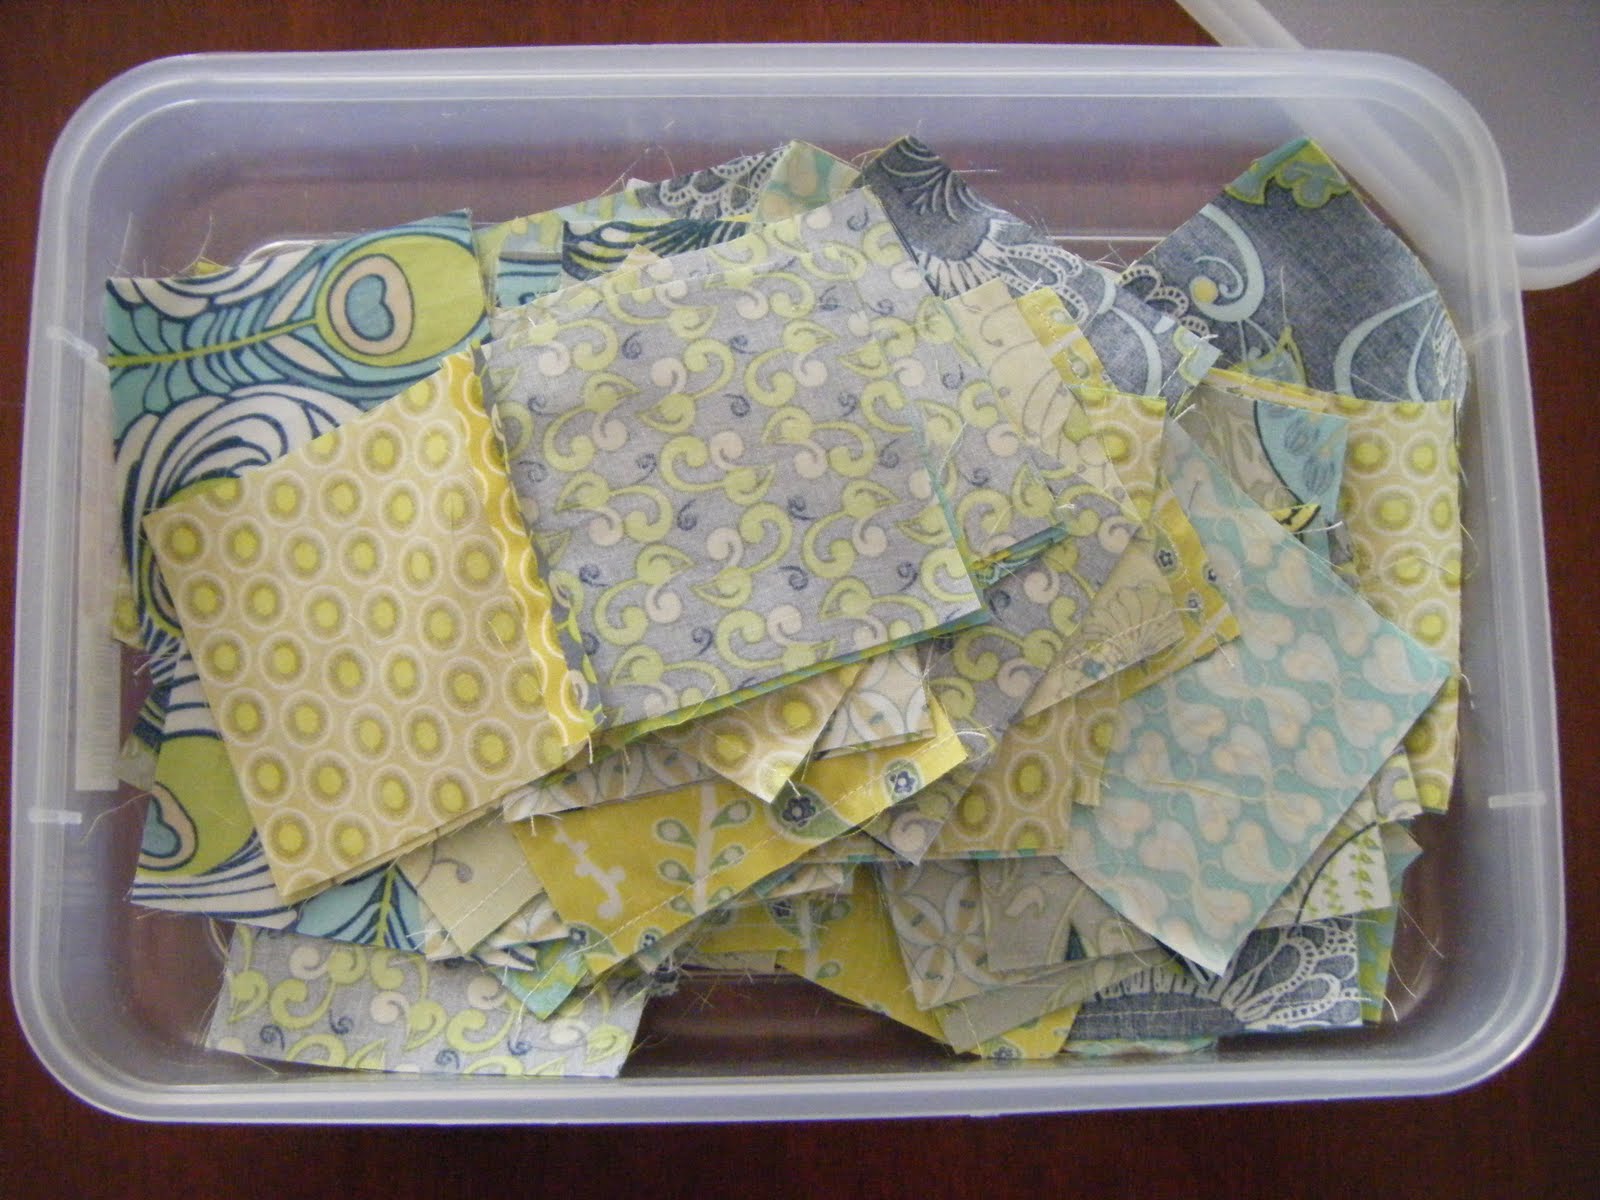
Here are the photos I posted with the material choices I had for DH's IPad case. 


But I have made it achievable to be made with scraps or pre cut fabrics (ie: jelly roll strips).

So over the next few days, I will post the tutorial and instructions in Parts. I am yet to make the finalised project but will post instructions after each part has been finished. I may post a couple of parts over the coming hours and days. I think that this project could definitely be achieved over a weekend with little hiccups. When I have finished I will put the whole tutorial up on my tutorial pages with each part and photos included. 

Wish me luck as this is my first tutorial.

Wednesday, June 29, 2011

W.I.P Wednesday

Its Wednesday again and I'm heading over to visit Lee at Freshly Pieced to join up to W.I.P Wednesday.

So this week I was busy on my machine when the kids were asleep. I wanted to stay ahead with my secret project and my Synchronized Squares Quilt Along. I have managed to get some sewing done on both and the machine is coming out this evening for another workout.

I also managed to add to my Snickerdoodle Paper Bag Swap. I finished off the purse
other than some last minute hand sewing and I decided to use Lee's Hexing Around Block to turn into a cushion. When she posted the tutorial I was instantly addicted wanting to give it a go because after all it is a gigantic hexagon block. So thanks Lee for a great tutorial and easy piecing block. So this is what I sewed together...


And this is the finished block hand quilted ready for the back piece to be sewn and added to the finished block. I love how it came together. I would definitely make it again. Well actually I have an idea for a quilt using the Hexing Around Block and paper piecing but you will just have to wait and see if it eventuates.

I didn't manage to get any of my hexagon diamonds completed this week. 

So next week its about turning some W.I.P.s into finished projects. I could even have some finished quilt tops to show off to you all.

Saturday, June 25, 2011

Friday's achievements.

So yesterday I decided to get out my machine and finish off some of my W.I.P.s to get them away. One project that I have to get finalised was my Snickerdoodle Paper Bag Swap. I finished off my first gift and realised that I had to make something else to use up the fabric I was sent.

So my first gift was a purse or wallet depending who you ask. I found the pattern out in blog land. The lady I'm swapping with didn't want a tote bag so I stayed away from bags in general.
It was so much fun to make that I will make it again. I just have a couple of little tweaks to make and it will be finished.

With the left over fabric I decided to try out the Hexing Around Block Tutorial designed by Lee at Freshly Pieced.  
It came together so well. And as I love hexagons, it was easy to make but I get to send off something else I love hexagons. I'm making the block into a cushion cover. Now just to make the backing.

For the remainder of my evening, I started to sew together Block A in my secret project. I stared with 3 1/2" squares (160). I have sewn the squares together into pairs. Block A will end up as 4 patches.

I was also looking forward to starting the Synchronized Squares Quilt Along with Rachel at P.S. I Quilt. I'm not too sure about what I'm going to do with the quilt along because I'm not too keen on raw edges and fabric waste. So I think I might do some more cutting and sewing. Keep to the pattern and block design without the raw edges. I wanted this to be a new quilt for my little girl's new bed. I have to add to the top so it fits a single bed but I would rather have seams than raw edges.

I also have my instructions to start cutting for the Kaleidoscope Quilt Along with Don't Call Me Betsy. What to do the small quilt or the large quilt? Hmm, which FQs to cut into from the fabric...what background colours to use...the choices are endless...decisions to be made.